Beginner Tips for Taking Better Phone Photos
Taking photos with your phone has never been easier, but getting great results can sometimes feel tricky. Whether you want to capture beautiful landscapes, memorable moments with friends, or creative shots for social media, a few simple tips can make a big difference. This guide shares beginner-friendly advice to help you take better phone photos and make the most of your device’s camera capabilities.
Understand Your Phone’s Camera Features
Before diving into taking photos, get to know your phone’s camera settings and options. Most smartphones come packed with helpful features like:
– HDR (High Dynamic Range): Helps balance bright and dark areas in a photo.
– Grid Lines: Divides the viewfinder into thirds for balanced compositions.
– Focus and Exposure: Allows you to control which part of the image is sharp and how bright it is.
– Portrait Mode: Creates a blurred background effect, making the subject stand out.
– Night Mode: Enhances low-light photos by capturing more detail.
Take a few minutes exploring these settings so you know how and when to use them.
Composition Tips for Better Photos
Great composition can transform an ordinary photo into something special. Here are some basic principles for composing better shots with your phone:
Use the Rule of Thirds
Turn on the grid lines in your camera settings to see two horizontal and two vertical lines dividing the frame into thirds. Place important elements along these lines or where they intersect. This creates a balanced and visually pleasing photo.
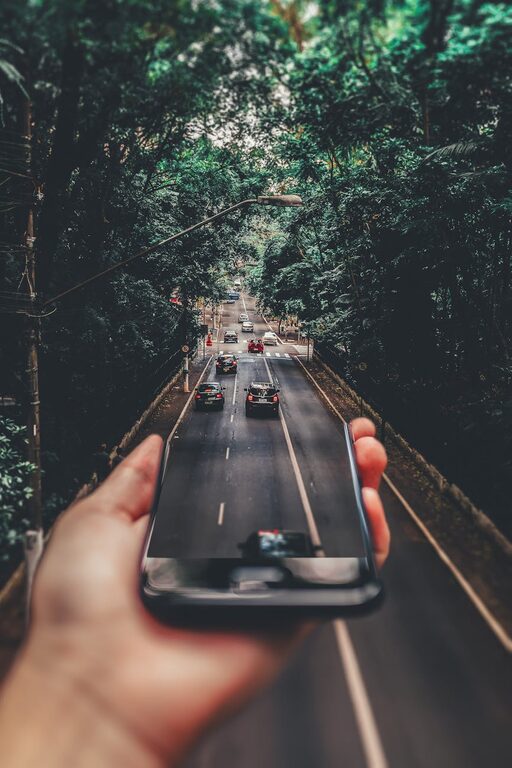
Look for Leading Lines
Use natural or urban elements like roads, fences, or shadows to guide the viewer’s eye through the photo toward the main subject. Leading lines add depth and interest.
Fill the Frame
Get closer to your subject or zoom in (carefully) to avoid wasting space and to highlight details. Filling the frame can make your photo more engaging.
Avoid Clutter
Keep the background simple and uncluttered so the main subject stands out. Make sure nothing distracting appears behind your subject.
Experiment with Angles
Try shooting from different perspectives — high, low, or tilted angles can make common scenes look fresh and exciting.
Lighting Tips for Clear and Vibrant Photos
Lighting is one of the most important factors in photography. Here’s how to use light effectively:
– Use Natural Light: Whenever possible, use natural daylight instead of artificial indoor lights. Photos taken in natural light usually have better color and sharpness.
– Avoid Harsh Midday Sun: Bright midday sun can create hard shadows and overexposed spots. Early morning or late afternoon light, called the “golden hour,” is softer and warmer.
– Face the Light Source: Position your subject so they are facing the light to avoid shadows on faces.
– Use Shadows Creatively: Shadows can add mood and depth but avoid harsh shadows unless it’s the intended effect.
– Try Backlighting: Placing the light source behind your subject can create a silhouette or halo effect for dramatic photos.
Keep Your Phone Stable
Blurry photos often happen when the camera moves during a shot. To avoid this:
– Hold your phone with both hands for stability.
– Rest your elbows on a table or your body for support.
– Use a tripod or phone stand if you want crisp, steady photos.
– Use the timer or a remote shutter option to minimize movement when pressing the shutter button.
Focus and Exposure Control
Most phone cameras automatically focus and set exposure, but sometimes they get it wrong. Here’s how to take control:
– Tap the screen on the main subject to focus the camera.
– Adjust the brightness by sliding your finger up or down after focusing to get the right exposure.
– Lock focus and exposure if your phone offers that option, especially when taking multiple shots or video in the same setting.
Use Zoom Carefully
Digital zoom often reduces image quality and makes photos grainy. Instead:
– Physically move closer to the subject when possible.
– Use optical zoom if your phone has multiple camera lenses.
– Crop photos after shooting to keep the original sharpness.
Edit Your Photos Thoughtfully
Editing can enhance your phone photos but avoid overdoing it. Many free or built-in editing apps offer easy tools to improve:
– Brightness and contrast
– Color saturation and warmth
– Sharpness
– Cropping and straightening
Start with minor tweaks to improve your photo while keeping it natural.
Practice and Experiment
The best way to get better at phone photography is to practice regularly. Try different subjects, lighting, and compositions. Review your photos and learn what works well and what doesn’t.
Consider joining photo challenges or communities online to get feedback and inspiration. The more you shoot, the more confident and creative you’ll become.
—
Final Thoughts
Taking better phone photos doesn’t require expensive equipment or expert skills. By understanding your camera’s features, paying attention to composition and lighting, keeping your phone steady, and practicing regularly, you can create beautiful images that capture your unique perspective. Have fun experimenting and seeing the world through your phone’s lens!
Happy shooting!